$ sudo docker pull tomacat
Using default tag: latest
Error response from daemon: pull access denied for tomacat, repository does not exist or may require 'docker login': denied: requested access to the resource is denied
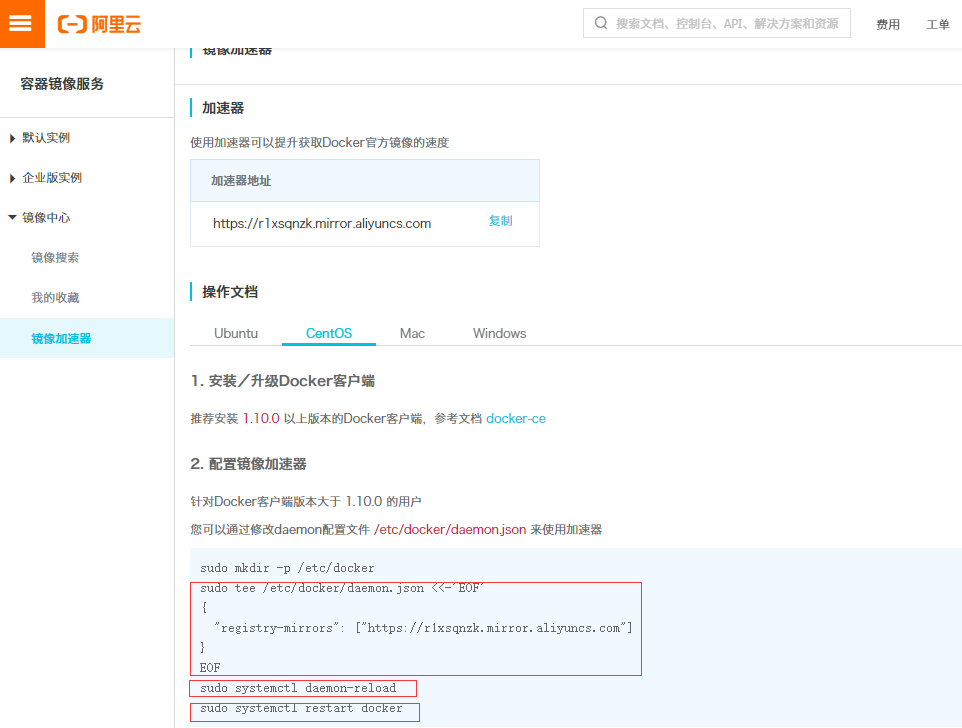
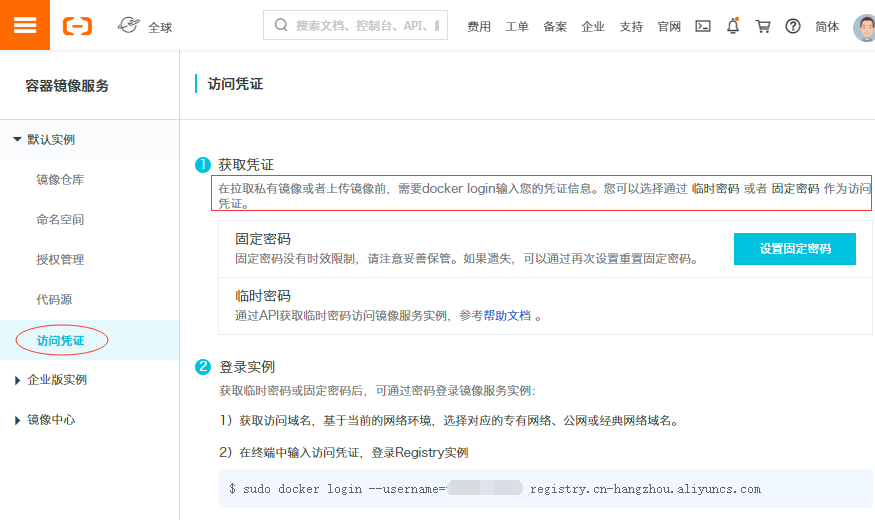
$ sudo docker login --username=阿里云用户名 registry.cn-hangzhou.aliyuncs.com
Password:(输入设置的固定密码或临时密码)
WARNING! Your password will be stored unencrypted in /root/.docker/config.json.
Configure a credential helper to remove this warning. See
https://docs.docker.com/engine/reference/commandline/login/#credentials-store

Login Succeeded
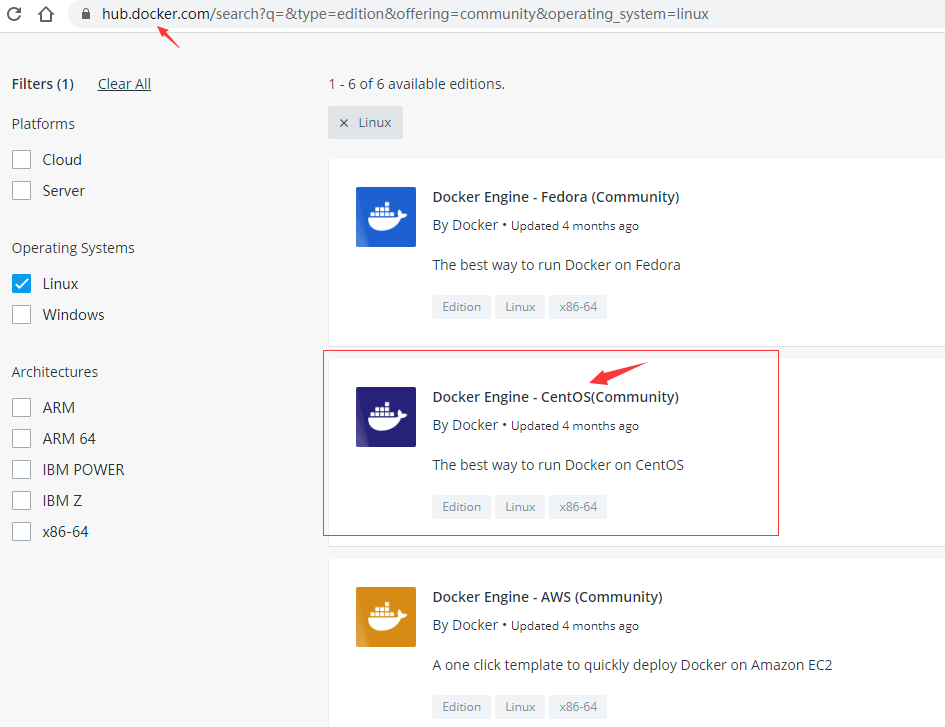
$ sudo dnf config-manager --add-repo https://download.docker.com/linux/centos/docker-ce.repo
添加仓库自:https://download.docker.com/linux/centos/docker-ce.repo
$ dnf info docker-ce
可安装的软件包
名称         : docker-ce
时期         : 3
版本         : 19.03.11
发布         : 3.el7
架构         : x86_64
大小         : 24 M
源           : docker-ce-19.03.11-3.el7.src.rpm
仓库         : docker-ce-stable
概况         : The open-source application container engine
URL          : https://www.docker.com
协议         : ASL 2.0
描述         : Docker is a product for you to build, ship and run any
             : application as a lightweight container.
             :
             : Docker containers are both hardware-agnostic and
             : platform-agnostic. This means they can run anywhere, from your
             : laptop to the largest cloud compute instance and everything in
             : between - and they don't require you to use a particular
             : language, framework or packaging system. That makes them great
             : building blocks for deploying and scaling web apps, databases,
             : and backend services without depending on a particular stack or
             : provider.
$ sudo dnf install docker-ce docker-ce-cli containerd.io
错误:
 问题: package docker-ce-3:19.03.11-3.el7.x86_64 requires containerd.io >= 1.2.2-3, but none of the providers can be installed
  - cannot install the best candidate for the job
  - package containerd.io-1.2.10-3.2.el7.x86_64 is excluded
  - package containerd.io-1.2.13-3.1.el7.x86_64 is excluded
  - package containerd.io-1.2.13-3.2.el7.x86_64 is excluded
  - package containerd.io-1.2.2-3.3.el7.x86_64 is excluded
  - package containerd.io-1.2.2-3.el7.x86_64 is excluded
  - package containerd.io-1.2.4-3.1.el7.x86_64 is excluded
  - package containerd.io-1.2.5-3.1.el7.x86_64 is excluded
  - package containerd.io-1.2.6-3.3.el7.x86_64 is excluded
(尝试添加 '--skip-broken' 来跳过无法安装的软件包 或 '--nobest' 来不只使用最佳选择的软件包)
$ containerd -v
containerd containerd.io 1.2.6 894b81a4b802e4eb2a91d1ce216b8817763c29fb
$ sudo dnf install -y docker-ce docker-ce-cli
Repository AppStream is listed more than once in the configuration
Repository extras is listed more than once in the configuration
Repository PowerTools is listed more than once in the configuration
Repository centosplus is listed more than once in the configuration
上次元数据过期检查:0:03:36 前,执行于 2020年06月11日 星期四 00时42分55秒。
依赖关系解决。
================================================================================
 软件包            架构       版本                   仓库                  大小
================================================================================
安装:
 docker-ce         x86_64     3:19.03.11-3.el7       docker-ce-stable      24 M
 docker-ce-cli     x86_64     1:19.03.11-3.el7       docker-ce-stable      38 M
安装依赖关系:
 libcgroup         x86_64     0.41-19.el8            base                  70 k

事务概要
================================================================================
安装  3 软件包

总下载:62 M
安装大小:263 M
确定吗?[y/N]: y
下载软件包:
(1/3): libcgroup-0.41-19.el8.x86_64.rpm         408 kB/s |  70 kB     00:00
(2/3): docker-ce-19.03.11-3.el7.x86_64.rpm      1.6 MB/s |  24 MB     00:14
(3/3): docker-ce-cli-19.03.11-3.el7.x86_64.rpm  418 kB/s |  38 MB     01:33
--------------------------------------------------------------------------------
总计                                            682 kB/s |  62 MB     01:33
警告:/var/cache/dnf/docker-ce-stable-091d8a9c23201250/packages/docker-ce-19.03.11-3.el7.x86_64.rpm: 头V4 RSA/SHA512 Signature, 密钥 ID 621e9f35: NOKEY
Docker CE Stable - x86_64                       647  B/s | 1.6 kB     00:02
导入 GPG 公钥 0x621E9F35:
 Userid: "Docker Release (CE rpm) <docker@docker.com>"
 指纹: 060A 61C5 1B55 8A7F 742B 77AA C52F EB6B 621E 9F35
 来自: https://download.docker.com/linux/centos/gpg
确定吗?[y/N]: y
导入公钥成功
运行事务检查
事务检查成功。
运行事务测试
事务测试成功。
运行事务
  准备中  :                                                                 1/1
  安装    : docker-ce-cli-1:19.03.11-3.el7.x86_64                           1/3
  运行脚本: docker-ce-cli-1:19.03.11-3.el7.x86_64                           1/3
  运行脚本: libcgroup-0.41-19.el8.x86_64                                    2/3
  安装    : libcgroup-0.41-19.el8.x86_64                                    2/3
  运行脚本: libcgroup-0.41-19.el8.x86_64                                    2/3
  安装    : docker-ce-3:19.03.11-3.el7.x86_64                               3/3
  运行脚本: docker-ce-3:19.03.11-3.el7.x86_64                               3/3
  验证    : libcgroup-0.41-19.el8.x86_64                                    1/3
  验证    : docker-ce-3:19.03.11-3.el7.x86_64                               2/3
  验证    : docker-ce-cli-1:19.03.11-3.el7.x86_64                           3/3

已安装:
  docker-ce-3:19.03.11-3.el7.x86_64    docker-ce-cli-1:19.03.11-3.el7.x86_64
  libcgroup-0.41-19.el8.x86_64

完毕!
$ sudo systemctl start docker
$ systemctl status docker
$ sudo docker run hello-world
Unable to find image 'hello-world:latest' locally
docker: Error response from daemon: Get https://registry-1.docker.io/v2/library/hello-world/manifests/latest: Get https://auth.docker.io/token?scope=repository%3Alibrary%2Fhello-world%3Apull&service=registry.docker.io: net/http: request canceled (Client.Timeout exceeded while awaiting headers).
See 'docker run --help'.
$ sudo docker run hello-world
Unable to find image 'hello-world:latest' locally
latest: Pulling from library/hello-world
0e03bdcc26d7: Pull complete
Digest: sha256:d58e752213a51785838f9eed2b7a498ffa1cb3aa7f946dda11af39286c3db9a9
Status: Downloaded newer image for hello-world:latest

Hello from Docker!
This message shows that your installation appears to be working correctly.

To generate this message, Docker took the following steps:
 1. The Docker client contacted the Docker daemon.
 2. The Docker daemon pulled the "hello-world" image from the Docker Hub.
    (amd64)
 3. The Docker daemon created a new container from that image which runs the
    executable that produces the output you are currently reading.
 4. The Docker daemon streamed that output to the Docker client, which sent it
    to your terminal.

To try something more ambitious, you can run an Ubuntu container with:
 $ docker run -it ubuntu bash

Share images, automate workflows, and more with a free Docker ID:
 https://hub.docker.com/

For more examples and ideas, visit:
 https://docs.docker.com/get-started/
$ docker images
Got permission denied while trying to connect to the Docker daemon socket at unix:///var/run/docker.sock: Get http://%2Fvar%2Frun%2Fdocker.sock/v1.40/images/json: dial unix /var/run/docker.sock: connect: permission denied
$ dnf info podman
Repository AppStream is listed more than once in the configuration
Repository extras is listed more than once in the configuration
Repository PowerTools is listed more than once in the configuration
Repository centosplus is listed more than once in the configuration
上次元数据过期检查:0:53:00 前,执行于 2020年06月11日 星期四 04时14分11秒。
可安装的软件包
名称         : podman
版本         : 1.6.4
发布         : 4.module_el8.1.0+298+41f9343a
架构         : x86_64
大小         : 12 M
源           : podman-1.6.4-4.module_el8.1.0+298+41f9343a.src.rpm
仓库         : AppStream
概况         : Manage Pods, Containers and Container Images
URL          : https://podman.io/
协议         : ASL 2.0
描述         : podman (Pod Manager) is a fully featured container engine that is a simple
             : daemonless tool.  podman provides a Docker-CLI comparable command line that eases
             : the transition from other container engines and allows the management of pods,
             : containers and images.  Simply put: alias docker=podman.  Most podman commands
             : can be run as a regular user, without requiring additional privileges.
             :
             : podman uses Buildah(1) internally to create container images. Both tools share
             : image (not container) storage, hence each can use or manipulate images (but not
             : containers) created by the other.
             :
             : Manage Pods, Containers and Container Images
             : libpod Simple management tool for pods, containers and images
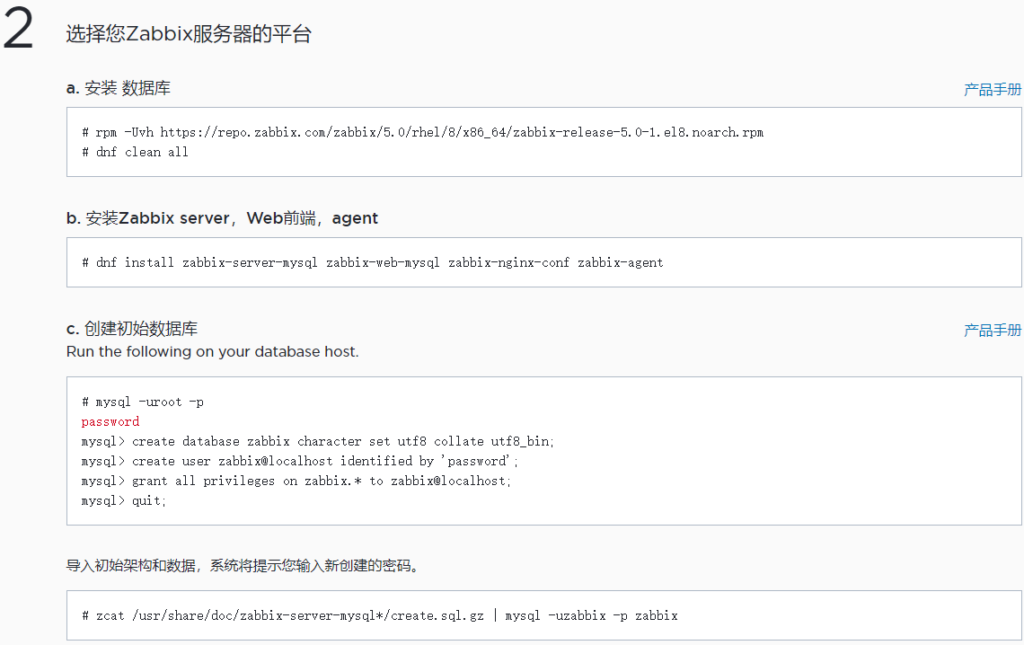
a. 安装 数据库
# rpm -Uvh https://repo.zabbix.com/zabbix/5.0/rhel/8/x86_64/zabbix-release-5.0-1.el8.noarch.rpm
# dnf clean all
b. 安装Zabbix server,Web前端,agent
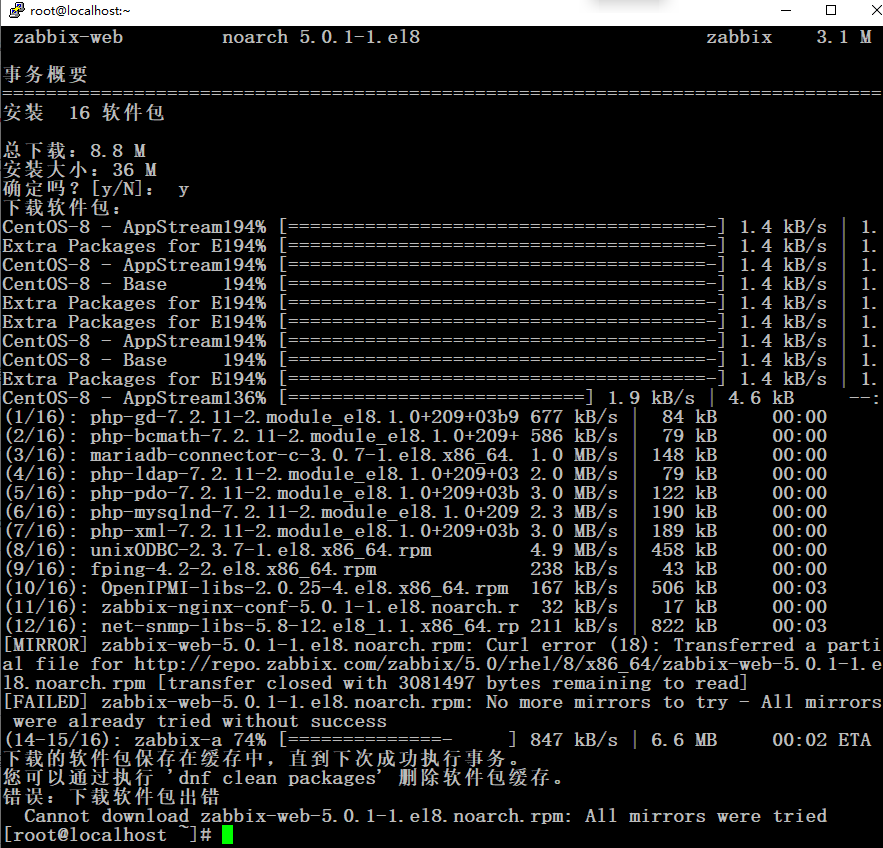
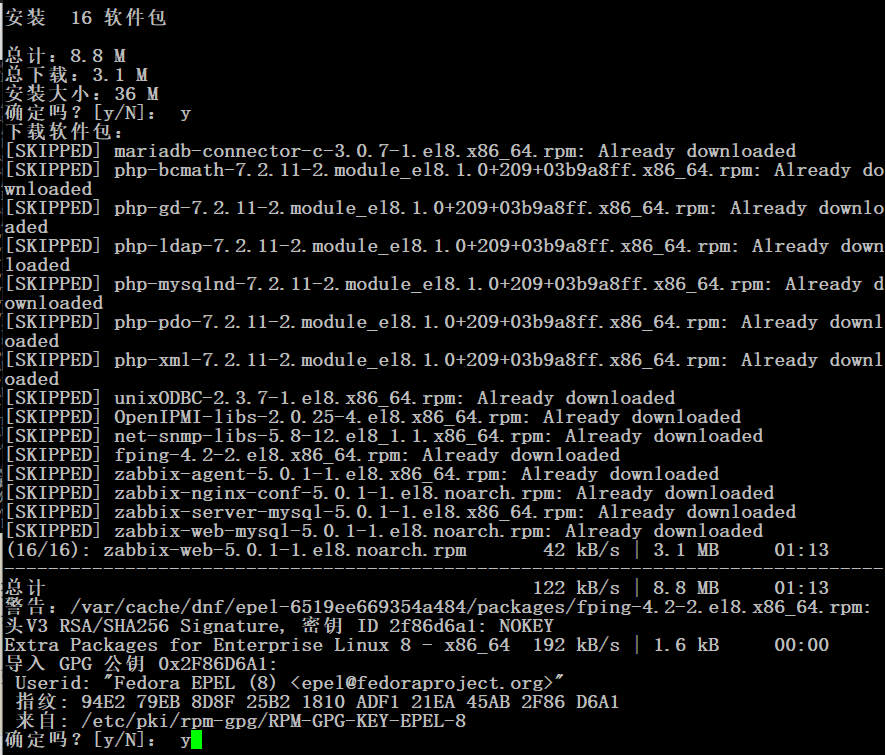
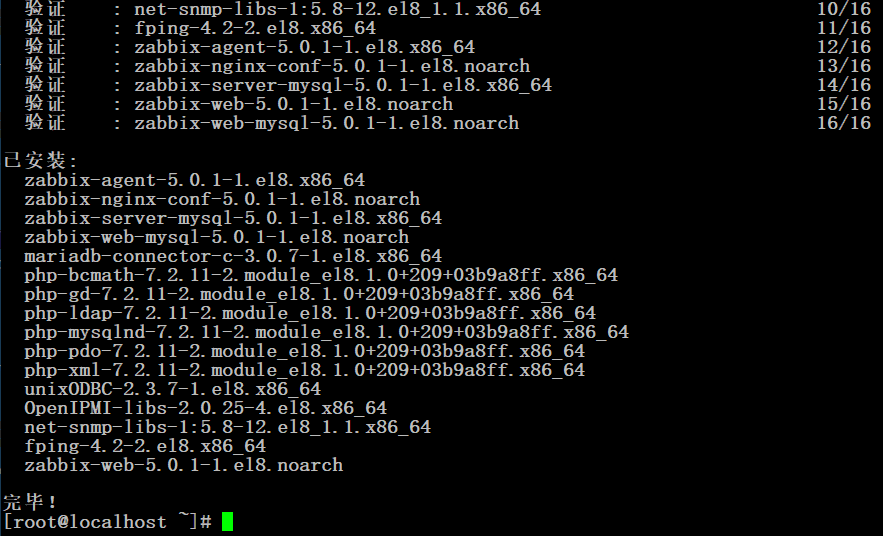
# dnf install zabbix-server-mysql zabbix-web-mysql zabbix-nginx-conf zabbix-agent
c. 创建初始数据库
Run the following on your database host.
# mysql -uroot -p
password
mysql> create database zabbix character set utf8 collate utf8_bin;
mysql> create user zabbix@localhost identified by 'password';
mysql> grant all privileges on zabbix.* to zabbix@localhost;
mysql> quit;
导入初始架构和数据,系统将提示您输入新创建的密码。
# zcat /usr/share/doc/zabbix-server-mysql*/create.sql.gz | mysql -uzabbix -p zabbix
d. 为Zabbix server配置数据库
编辑配置文件 /etc/zabbix/zabbix_server.conf
DBPassword=password
e. 为Zabbix前端配置PHP
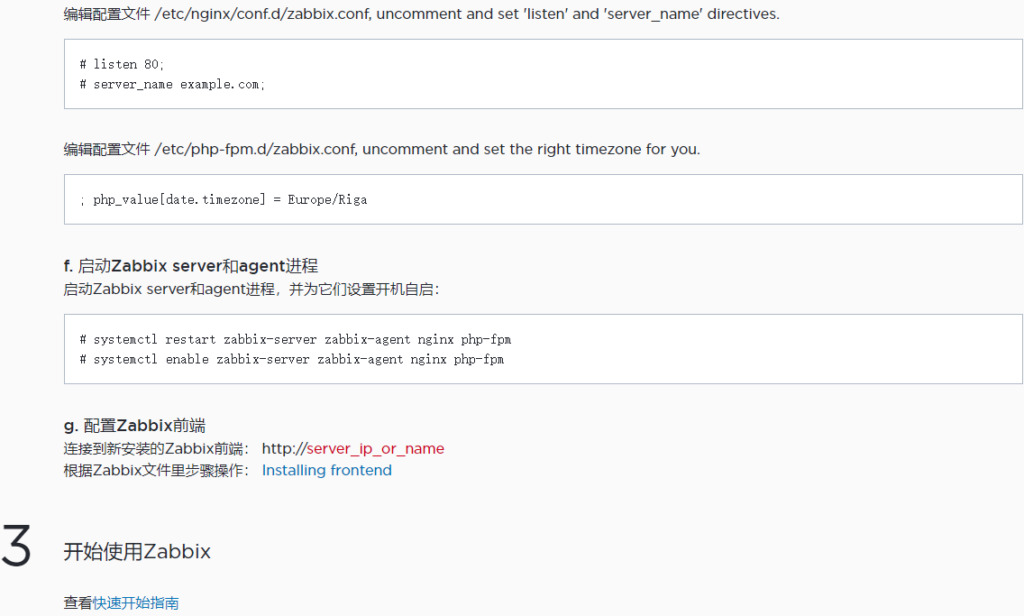
编辑配置文件 /etc/nginx/conf.d/zabbix.conf, uncomment and set 'listen' and 'server_name' directives.
# listen 80;
# server_name example.com;
编辑配置文件 /etc/php-fpm.d/zabbix.conf, uncomment and set the right timezone for you.
; php_value[date.timezone] = Europe/Riga
f. 启动Zabbix server和agent进程
启动Zabbix server和agent进程,并为它们设置开机自启:
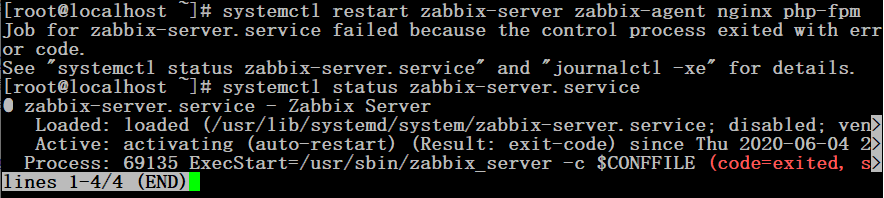
# systemctl restart zabbix-server zabbix-agent nginx php-fpm
# systemctl enable zabbix-server zabbix-agent nginx php-fpm
g. 配置Zabbix前端
连接到新安装的Zabbix前端: http://server_ip_or_name
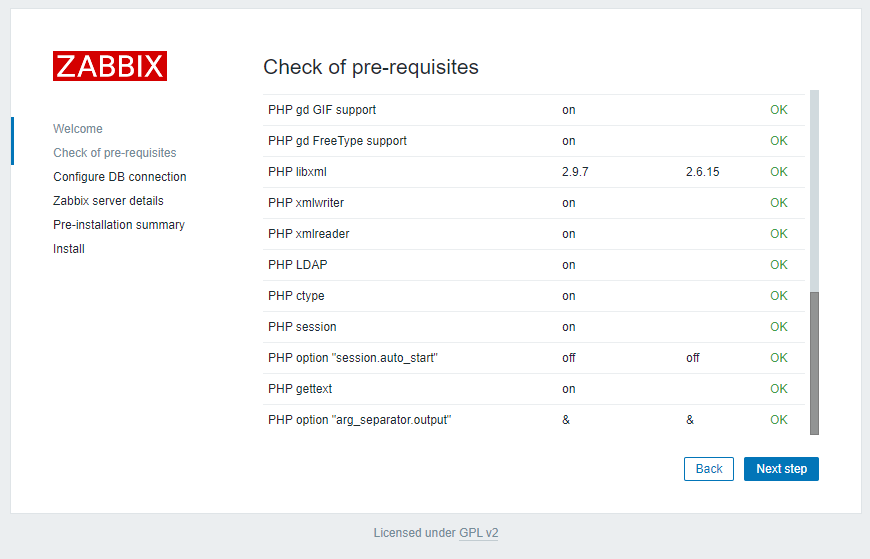
根据Zabbix文件里步骤操作: Installing frontend
mysql> create user zabbix@localhost identified by 'password';//最后的password改成复杂一点的密码。

mysql> create user zabbix@localhost identified WITH mysql_native_password by 'password'; //改后
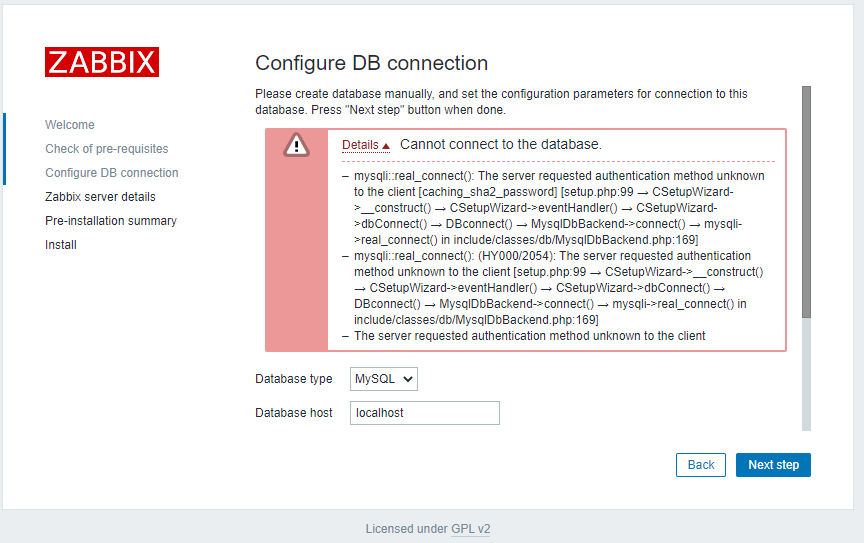
Details Cannot connect to the database.
mysqli::real_connect(): The server requested authentication method unknown to the client [caching_sha2_password] [setup.php:99 → CSetupWizard->__construct() → CSetupWizard->eventHandler() → CSetupWizard->dbConnect() → DBconnect() → MysqlDbBackend->connect() → mysqli->real_connect() in include/classes/db/MysqlDbBackend.php:169]
mysqli::real_connect(): (HY000/2054): The server requested authentication method unknown to the client [setup.php:99 → CSetupWizard->__construct() → CSetupWizard->eventHandler() → CSetupWizard->dbConnect() → DBconnect() → MysqlDbBackend->connect() → mysqli->real_connect() in include/classes/db/MysqlDbBackend.php:169]
The server requested authentication method unknown to the client
# mysql -V
mysql Ver 15.1 Distrib 5.5.64-MariaDB, for Linux (x86_64) using readline 5.1
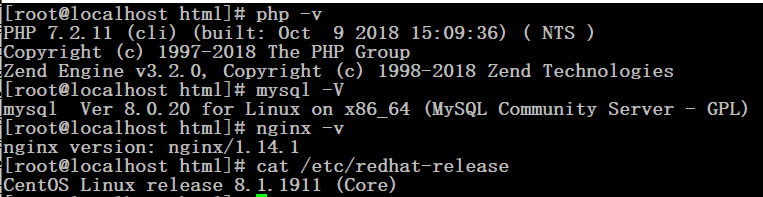
# php -v
PHP 5.4.16 (cli) (built: Aug 11 2016 21:24:59)
Copyright (c) 1997-2013 The PHP Group
Zend Engine v2.4.0, Copyright (c) 1998-2013 Zend Technologies
# httpd -v
Server version: Apache/2.4.6 (CentOS)
Server built: Jul 18 2016 15:30:14
# cat /etc/redhat-release
CentOS Linux release 7.2.1511 (Core)
# MariaDB 10.4 CentOS repository list - created 2020-04-29 05:43 UTC
# http://downloads.mariadb.org/mariadb/repositories/
[mariadb]
name = MariaDB
baseurl = http://yum.mariadb.org/10.4/centos7-amd64
gpgkey=https://yum.mariadb.org/RPM-GPG-KEY-MariaDB
gpgcheck=1
# yum clean all
# yum makecache
# 备份数据库
# mysqldump -uroot -p --all-databases > /root/mariadb-55-backup.sql
Enter password:
# 卸载老版本
# yum remove mariadb*
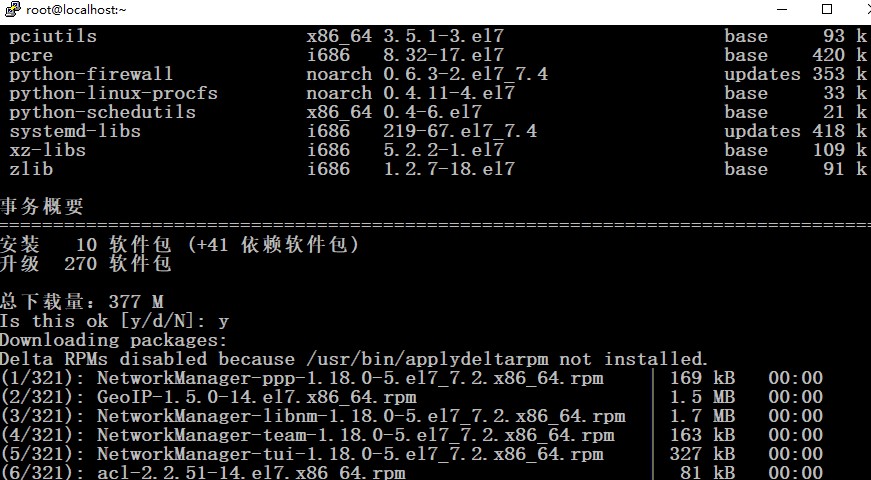
Is this ok [y/d/N]: y
# 安装新版本
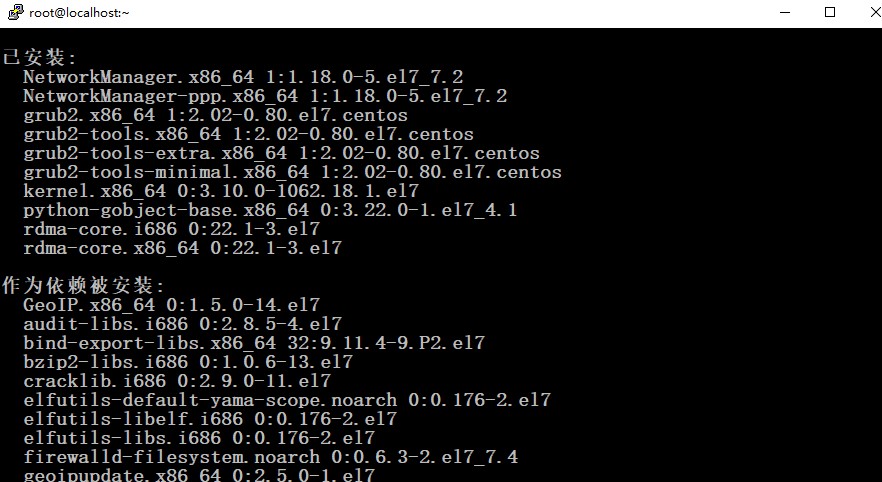
# yum install -y MariaDB-server MariaDB-client
Is this ok [y/d/N]: y
# systemctl start mariadb
# systemctl enable mariadb
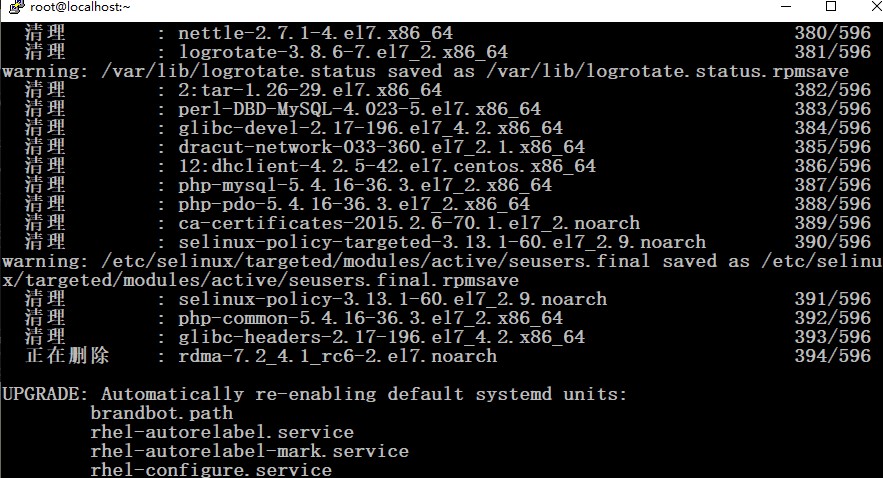
# 升级数据库
# mysql_upgrade -uroot -p
Enter password:
......
Phase 7/7: Running 'FLUSH PRIVILEGES'
OK
# mysql -uroot -p
Enter password:
MariaDB [(none)]> FLUSH PRIVILEGES;
Query OK, 0 rows affected (0.000 sec)
MariaDB [(none)]> exit
Bye
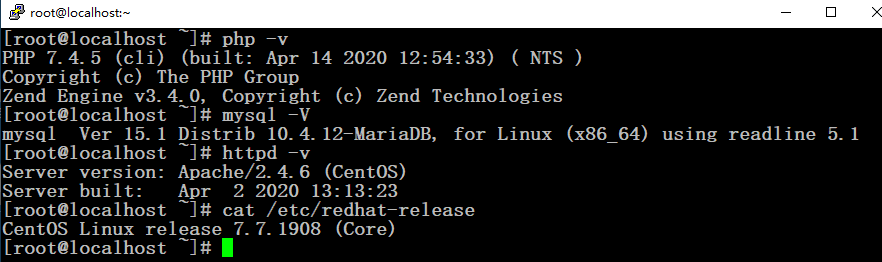
# mysql -V
mysql Ver 15.1 Distrib 10.4.12-MariaDB, for Linux (x86_64) using readline 5.1